DICOM Experiments with dcmtk and TLS
Executive Summary
In this small article, I would like to point out how we can use the command line tools from the dcmtk toolkit in order to play around with DICOM images, setting up a DICOM recipient and how we integrate TLS (encryption) in the whole setup.
The dcmtk toolkit is a powerful set of command line tools which enable us to play around with DICOM, program test environments, transform images between DICOM and other common formats (like JPEG or PNG) and simulate a simple PACS or a worklist server. It does not feature all tools that you would wish to have (e.g., dealing with MP4 videos), but it’s powerful enough to start with.
As always, I recommend that you execute all scripts on a properly installed Linux machine. (Windows will also do it, but it’s… uh!) Fortunately, the dcmtk toolkit is available for most Linuxes.
Sending DICOM images
Let’s start with a simple setup. We need a folder structure like this:
gabriel@caipirinha:~> tree /reserve/playground/
/reserve/playground/
├── images
│   ├── IM000001
│   ├── IM000002
│   ├── IM000003
│   ├── IM000004
│   ├── IM000005
│   ├── IM000006
│   ├── IM000007
│   ├── IM000008
│   └── IM000009
└── pacs
The folder images will contain some sample DICOM images. Either you have some from your own medical examinations, or you download some demo pictures from the web. The folder pacs will serve as recipient of our transmitted DICOM images.
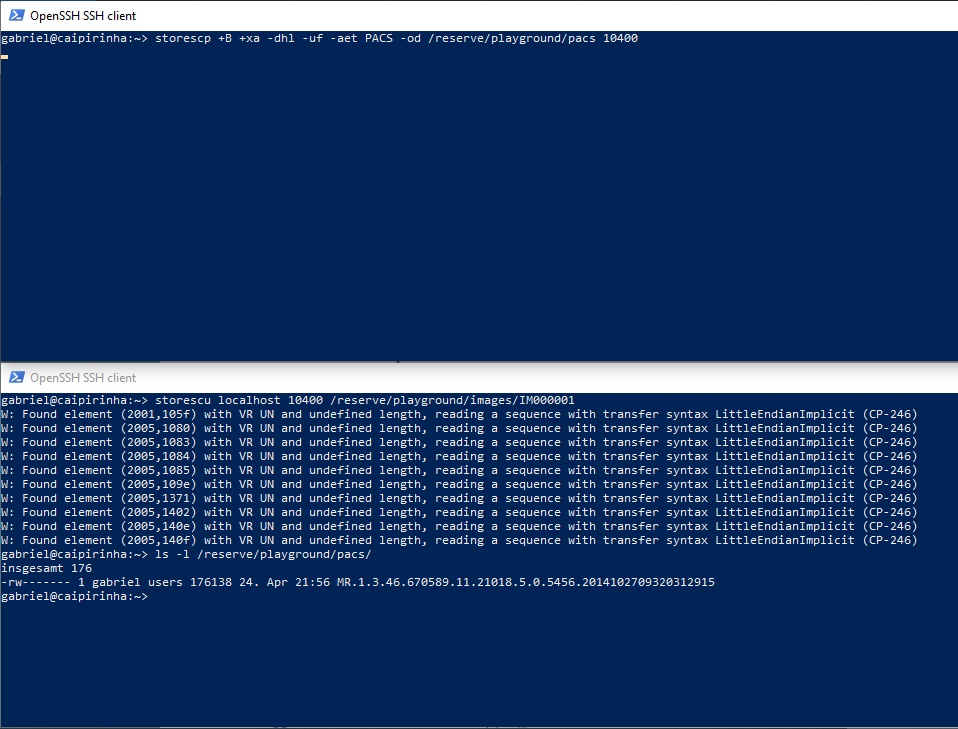
We furthermore need two (bash) shells open, and in the first shell, we start a storescp instance:
storescp +B +xa -dhl -uf -aet PACS -od /reserve/playground/pacs 10400
This command enables a recipient of DICOM images; it will be our “mini” PACS, and it will just store all the data it receives in the folder /reserve/playground/pacs.
The storescp command has a range of options which you might explore using “man storescp” on your Linux machine. Here, we use the options:
- +B: write data exactly as read. Actually, I use this option as it seems to write directly on disk. On a weaker Raspberry Pi I did have issues with large files until I started to use this option. So: recommended.
- +xa: accept all supported transfer syntaxes. That’s what you expect from a test system.
- -dhl: disable hostname lookup. In our test environment, we do not want to complicate things by using DNS and reverse DNS lookups.
- -uf: generate filename from instance UID (default). This means that you will get files names from the instance UID. They are not exactly “telling” filenames, but they refer to some instance UID that comes from your other test systems or from a worklist or from whereever.
- -aet: set my AE title. This is the AE title, an important identifier in the DICOM world. In reality, this would probably be a name referring to the respective hospital owning the PACS or to the manufacturer of the PACS.
You can also see that the instance is listening on TCP port 10400. This is not the standardized port for DICOM operation; in fact, in reality you would use port 104. But as we want to test around not using the root account, we will not use privileged ports.
In the second shell, we transmit a DICOM image by invoking a storescu command:
storescu localhost 10400 /reserve/playground/images/IM000001
This will transfer the DICOM image IM000001 to the storescp and ultimately store it in the folder /reserve/playground/pacs. The whole operation looks like in the image below. Do not get bothered by the messages of the storescu command; it just evidences that even commercially taken DICOM images do not always fulfil the specs.
Sending DICOM images with TLS
Now, let’s switch one gear higher and use TLS encryption for the transfer of our DICOM image. We need some preparation though, and for that, we need to download a script named dcmtk_ca.pl. You can get that at Github, for example (here). Save it and make it executable. Of course, you need a Perl interpreter, but as you work on a well installed Linux machine, it is simply available.
We first need to create a (self-generated) root certificate and subsequently two key pairs. On this blog post, you can find the commands for that, and those are:
./dcmtk_ca.pl newca /reserve/playground/myca
mkdir /reserve/playground/mycert
./dcmtk_ca.pl mkcert -des no /reserve/playground/myca/ /reserve/playground/mycert/cert1 /reserve/playground/mycert/key1
./dcmtk_ca.pl mkcert -des no /reserve/playground/myca/ /reserve/playground/mycert/cert2 /reserve/playground/mycert/key2
During the course of the execution of these commands, you will be asked several questions which refer to attributes used in X.509 certificates, like “organizational unit”, … The values that you give do not matter here in our test environment. But for certificates used in production environment, those attributes should be populated with meaningful values, of course.
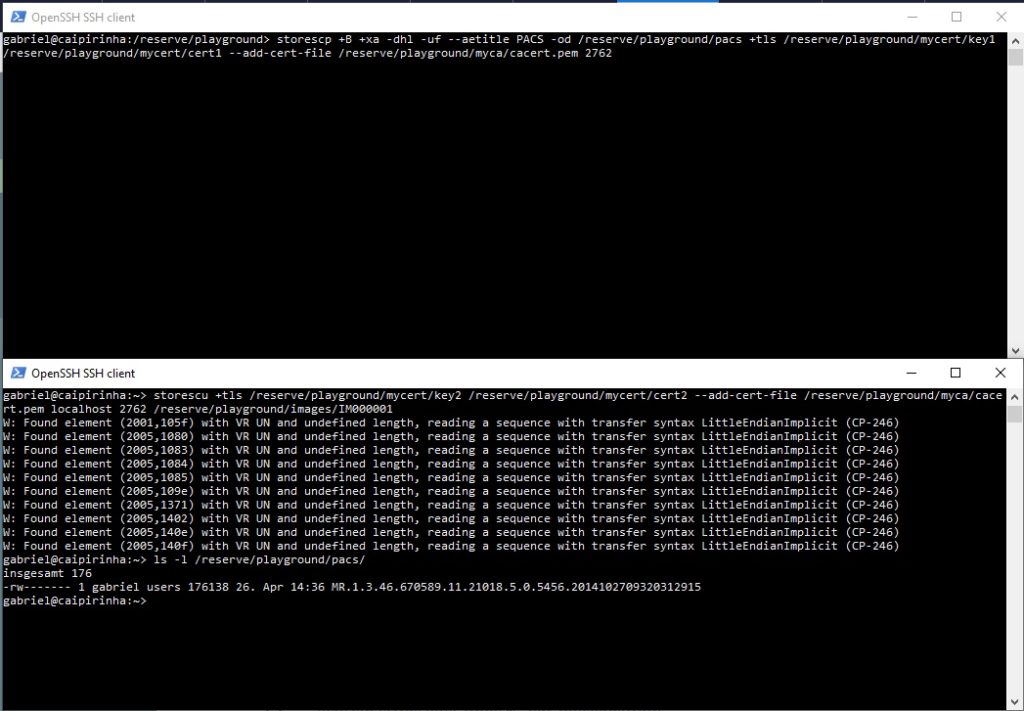
The command sequence above has created our root certificate in the file /reserve/playground/myca/cacert.pem, and two key pairs in the folder /reserve/playground/mycert/. We will now repeat the transmission of a DICOM image as shown in the previous chapter, however, using a TLS connection. Hence, in our first shell, we will issue the command:
storescp +B +xa -dhl -uf --aetitle PACS -od /reserve/playground/pacs +tls /reserve/playground/mycert/key1 /reserve/playground/mycert/cert1 --add-cert-file /reserve/playground/myca/cacert.pem 2762
which will be our “mini” PACS again, and in the second shell we issue the command:
storescu +tls /reserve/playground/mycert/key2 /reserve/playground/mycert/cert2 --add-cert-file /reserve/playground/myca/cacert.pem localhost 2762 /reserve/playground/images/IM000001
You can see that for this example, I have used TCP port 2762 which is also the recommendation from NEMA.
In this example, we have used a self-generated root certificate (cacert.pem) and derived two key pairs from this. But in real life, you might have an existing certificate that shall be used. My web server (caipirinha.spdns.org) for example, has a real certificate (thanks to the Let’s Encrypt initiative), and now, we want to use this certificate for the storescp sequence simulating our “mini” PACS. In order to do so, I will start the storescp instance as root user (because on my machine, only root can read the server key). On a production system, this is exactly what you shall not do; rather than that, you will have to find a way for you to make the server key available for the user which shall run the PACS, and this user should not be a normal user. But for our test here, this is OK. So, in that case, the storescp command would be:
storescp +B +xa -dhl -uf --aetitle PACS -od /reserve/playground/pacs +tls /etc/letsencrypt/live/caipirinha.spdns.org/privkey.pem /etc/letsencrypt/live/caipirinha.spdns.org/cert.pem +cf /reserve/playground/myca/cacert.pem 2762
The corresponding storescu command is:
storescu +tls /reserve/playground/mycert/key2 /reserve/playground/mycert/cert2 --add-cert-file /reserve/playground/caipirinha-spdns-org-zertifikatskette.pem localhost 2762 /reserve/playground/images/IM000001
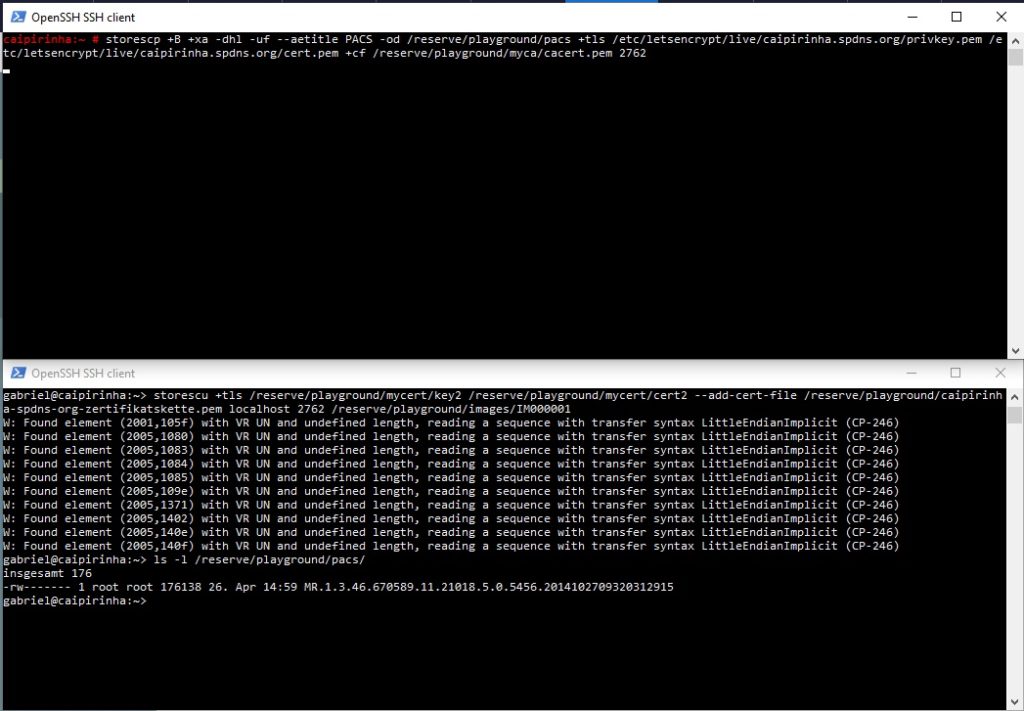
You will realize here that in this example, the storescp instance has the root certificate of the storescu instance (which is the self-generated root certificate) whereas the storescu instance has the root ceritifcate chain of the storescp instance (which I extracted using the Firefox browser and accessing my own page https://caipirinha.spdns.org/). The reason for this crossover mentioning of the root certificates is simple:
- The storescp instance needs the root certificate (chain) of the storescu instance in order to verify whether the certificate that the storescu instance presents is valid.
- The storescu instance needs to the root certificate (chain) of the storescp instance in order to verify whether the certificate that the storescp instance presents is valid.
This might put a problem for hospital installations. Very rarely would you be able to add self-generated root certificates to your PACS, and therefore, the recommendation is that, when using TLS in your hospital environment, the probably best approach is that all certificates (key pairs) are generated from the very same certificate authority that was used to issue the key pair for the PACS. How certificate and key information is set up in various DICOM-capable devices depend on the device. In one device I came across, all related certificates and keys could be saved on the hard disk where I created a folder D:\Zertifikate and subsequently entered the related information in a JSON object for the DICOM configuration. That looked like this:
{
 ...
 "DefaultSendOptions": {
    "sendExecutable": "storescu-tls.exe",
    ...
    },
    "args": [
      "--log-level",
      "info",
      ...
      "+tls",
      "D:/Zertifikate/key",
      "D:/Zertifikate/cert",
      "+cf",
      "D:/Zertifikate/caipirinha-ca-chain.pem"
    ],
    ...
}
In this example, I still used a self-created certificate and key for the DICOM-enabled device that shall talk to the PACS, but the PACS itself uses a real certificate. You can see that the DICOM-enabled device also uses the storescu command in order to transmit DICOM data. This is not unusual, as most device manufacturers would use the dcmtk toolkit rather than programming DICOM routines from scratch.
I hope that this small article can help you to better understand the two related commands storescp and storescu with the focus on TLS encryption during the communication.